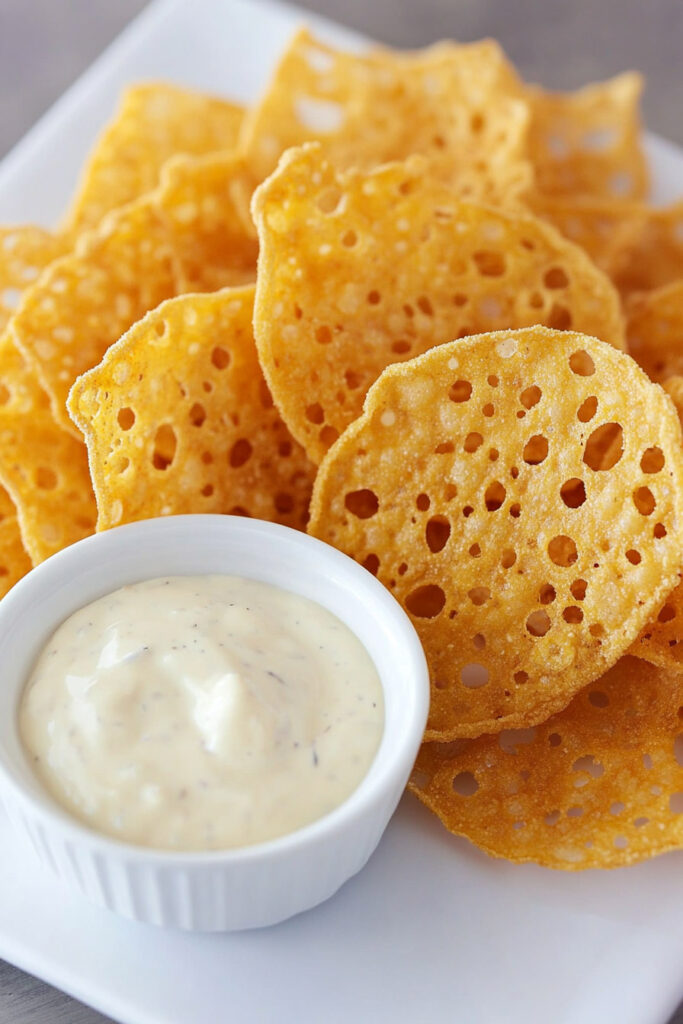
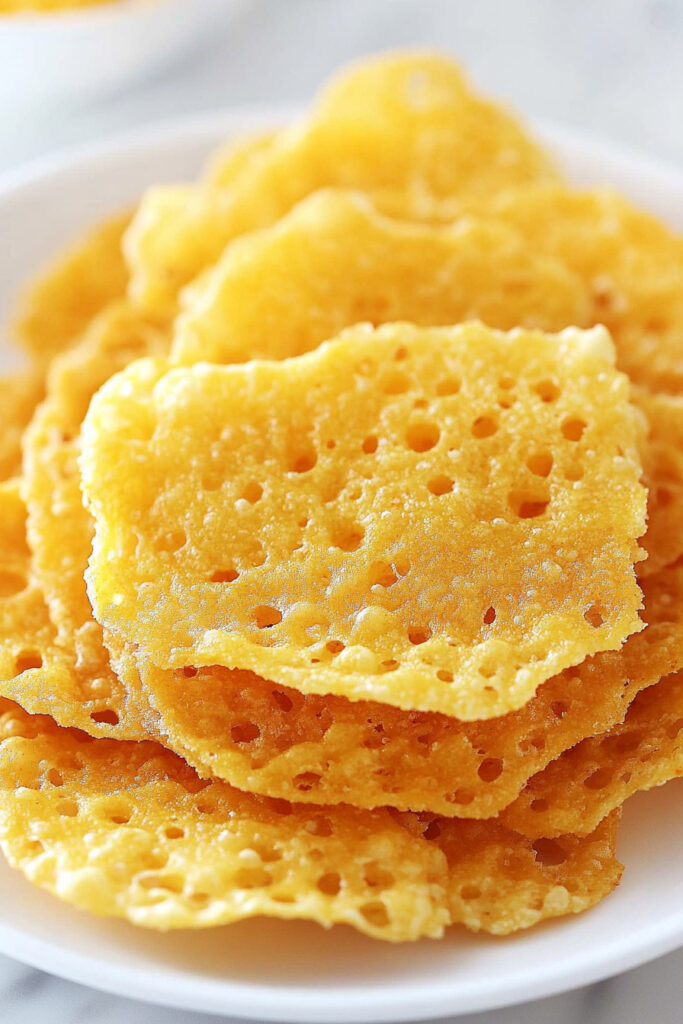
Craving something crispy and savory but still totally keto-approved? Let me tell you about these Keto Baked Cheese Crisp Crackers. They’re crispy, cheesy, and require just one ingredient. Yep, you read that right—cheese!
Whether you’re snacking solo or need the perfect dip companion, these crackers deliver. Thick slices of cheddar or Colby? A total flavor bomb. And the best part? They’re ridiculously easy to make. No fuss. No fancy equipment. Just cheesy goodness that’s ready in minutes.
The Basics
Here’s what you need to know before you get started:
Prep & Bake Time: 2 minutes prep, 12–14 minutes in the oven
Yields: 12 crackers (3 crackers = 1 serving)
Skill Level: Beginner (seriously, anyone can make these!)
Tools You Need:
- A baking sheet
- Parchment paper (trust me, don’t skip this)
- Paper towels to soak up some of that extra oil
Pro tip? Make a batch ahead of time—they stay crispy for days. Perfect for meal prep or on-the-go snacking.
What You’ll Need
Ingredients:
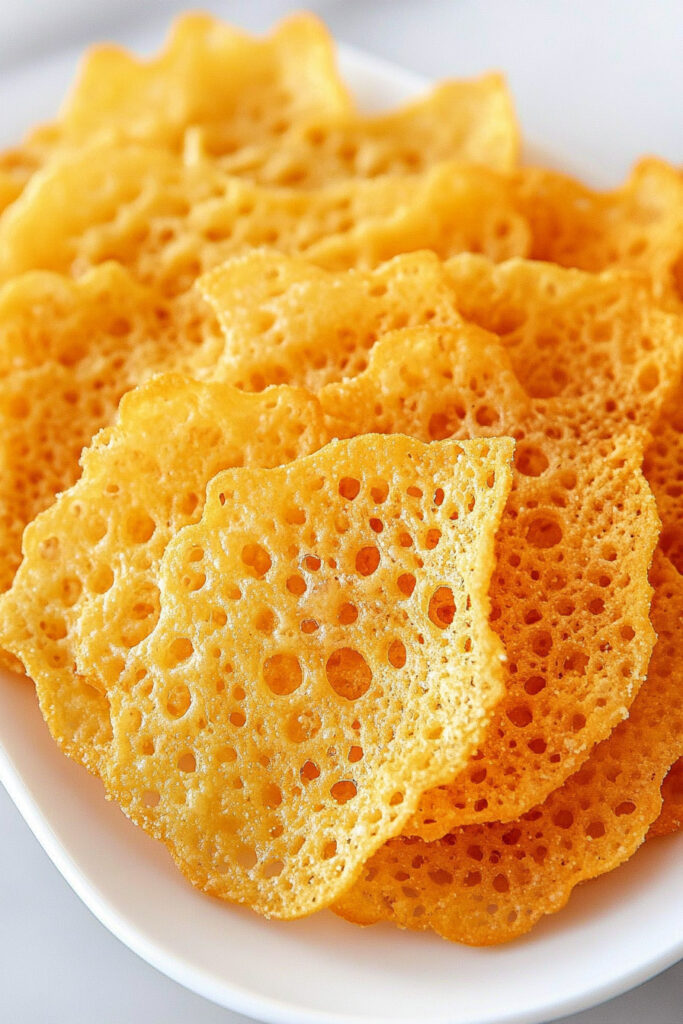
- 12 thick cheese slices (Cheddar and Monterey/Colby blend work great)
Got Options? Totally.
- Want something sharper? Try aged cheddar or Parmesan.
- Craving heat? Pepper Jack is your friend.
- Prefer mellow flavors? Mozzarella or Swiss are great choices too.
Quick Note: Thick slices are key—they don’t fall apart in the oven. Pre-sliced cheese works perfectly, but slicing your own gives you more control.
How to Make Them
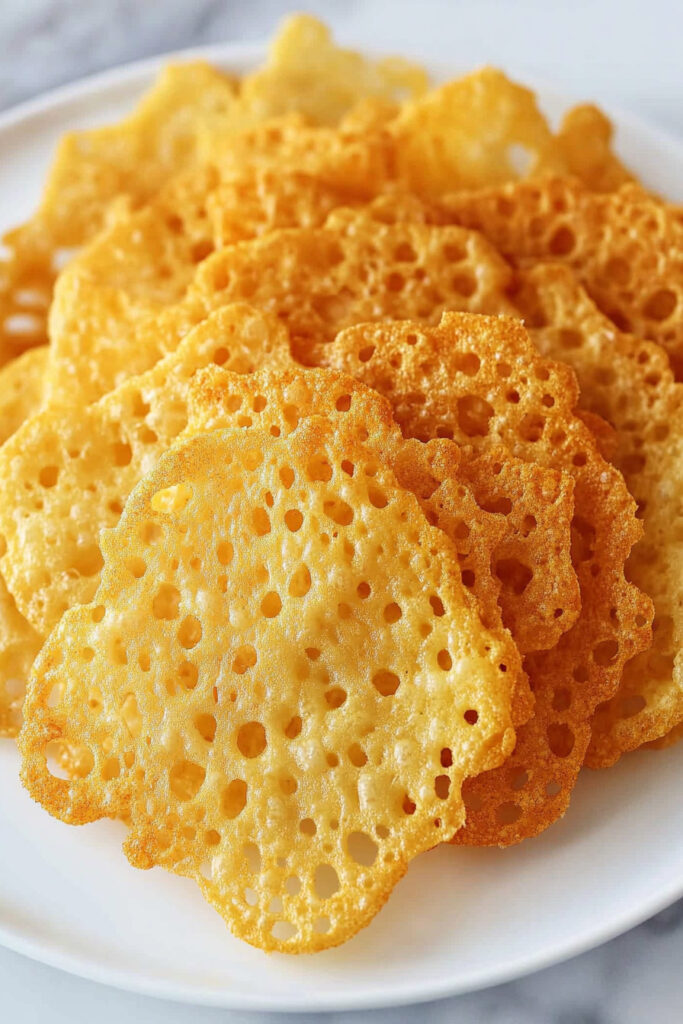
Making these crackers couldn’t be easier. Follow these steps, and you’ll have the perfect crispy snack in no time.
Step 1: Preheat
Set your oven to 400°F. A hot oven means the cheese melts and crisps just right.
Step 2: Prep the Baking Sheet
Line a baking sheet with parchment paper. This is a must. No parchment paper? Your crackers will stick—and that’s just sad.
Step 3: Place Cheese Slices
Lay your cheese slices on the baking sheet. Leave about an inch between slices so they have room to spread.
Step 4: Bake
Pop the sheet in the oven and bake for 12–14 minutes. Keep an eye on them! Here’s what to look for:
- The cheese will bubble.
- The edges will turn golden brown. That’s your cue they’re crisping up.
- Still soft in the middle? Leave them in a bit longer—they’ll harden as they cool.
Step 5: Cool & Crisp
Carefully move the crackers onto paper towels to soak up any extra oil. Let them cool completely. As they cool, they’ll go from bendy to perfectly crispy.
Tips & Common Pitfalls
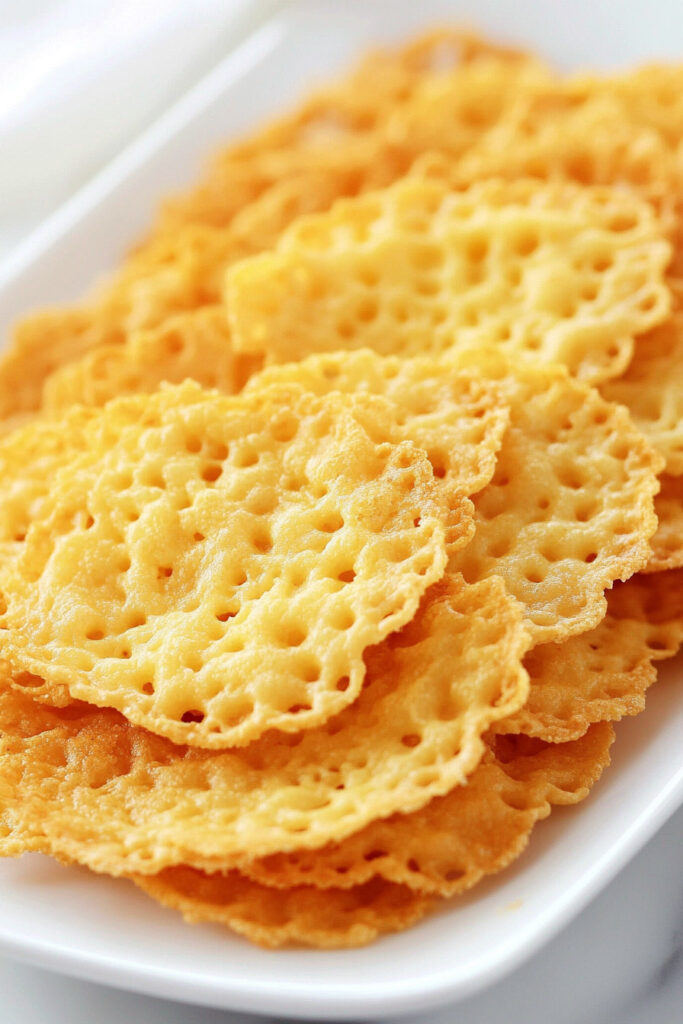
Want pro-level crackers every time? Keep these tips in mind:
- Don’t Underbake: If they’re still floppy when you take them out, they’ll never crisp up.
- Don’t Overbake: Burnt cheese won’t win any taste awards—it turns bitter fast.
Let’s Talk Variations
One of the best things about these crackers? You can totally customize them!
Mix It Up with Flavors:
- Feeling spicy? Sprinkle on chili powder or crushed red pepper flakes.
- Love garlic? Add a pinch of garlic powder or smoked paprika before baking.
- Getting fancy? Try topping with fresh herbs, Everything Bagel seasoning, or even a bit of jalapeño.
Need a Dairy-Free Option?
Use a plant-based cheese that melts well, like almond-based cheddar.
Keep It Keto:
No worries—this recipe is naturally gluten-free and perfect for low-carb diets.
Seasonal Ideas:
- In the summer, pair them with guac or a fresh pico de gallo.
- In the winter, serve them with warm dips like buffalo chicken or spinach artichoke.
How to Serve & Store

Snack Away
Stack them on a plate with keto-friendly dips like ranch or guacamole. Or make them the star of your charcuterie board alongside veggies, nuts, and cured meats.
Storing Your Crackers
Let them cool completely before storing. Toss them in an airtight container or ziplock bag, and they’ll stay crispy for 3–4 days at room temp. Want them to last longer? Refrigerate—but heads up, they might lose some of their crunch.
Need to refresh them? Pop them in a 350°F oven for 2–3 minutes, and they’ll crisp right up.
Final Thoughts
Making these Keto Baked Cheese Crisp Crackers is about as easy as it gets. One ingredient, minimal effort, amazing results. Whether you’re a keto pro or just looking for a guilt-free snack, this recipe is pure gold.
So what are you waiting for? Grab some cheese, preheat that oven, and get cracking. Your taste buds—and carb count—will thank you!
PrintKeto Baked Cheese Crisp Crackers
These Keto Baked Cheese Crisp Crackers are the ultimate low-carb, crunchy snack. Made with just one ingredient—cheese—they’re quick, easy, and perfect for pairing with dips or enjoying on their own. A simple yet satisfying recipe for keto enthusiasts or anyone craving a guilt-free treat!
- Prep Time: 2 minutes
- Cook Time: 12–14 minutes
- Total Time: 16 minutes
- Yield: 12 crisps (serving size: 3 crisps) 1x
- Category: Snack
- Cuisine: American
Ingredients
- 12 thick cheese slices (Cheddar and Monterey/Colby blend)
Instructions
- Preheat Oven: Preheat your oven to 400°F (204°C). Line a baking sheet with parchment paper to prevent sticking.
- Arrange Cheese Slices: Place the cheese slices on the prepared sheet, leaving about 1 inch of space between each slice for spreading.
- Bake Until Crisp: Bake for 12–14 minutes, or until the edges are golden brown and the cheese is firm. If the cheese is still bendable, bake for an additional minute or two.
- Cool and Crisp Up: Transfer the baked cheese slices to paper towels to absorb any excess oil. Allow them to cool completely; they will harden as they cool.
Notes
Serving Suggestions:
- Pair with guacamole, ranch dressing, or buffalo chicken dip for a flavorful snack.
- Add to charcuterie boards alongside meats and veggies for a keto-friendly platter.
Tips & Tricks:
- Use parchment paper (not wax paper!) to ensure easy removal and crisp results.
- Watch closely during baking to avoid over-browning, which can make the crackers taste bitter.
Storage & Reheating:
- Store in an airtight container at room temperature for up to 3–4 days.
- To refresh their crunch, reheat in a preheated oven at 350°F (175°C) for 2–3 minutes.


